The bathroom has evolved into more than just a functional space; it’s now a sanctuary where modern design meets relaxation. A key element in achieving this balance is the shower area. Traditionally hidden behind shower curtains, this space has taken a leap forward with the advent of shower screens. Not only do they add a touch of elegance to the bathroom, but they also provide a sleek and modern look that instantly elevates the overall aesthetics. The best part? You can make it a DIY project by understanding the basics, including the use of tempered glass cut to size.
Embracing the Elegance of Shower Screens
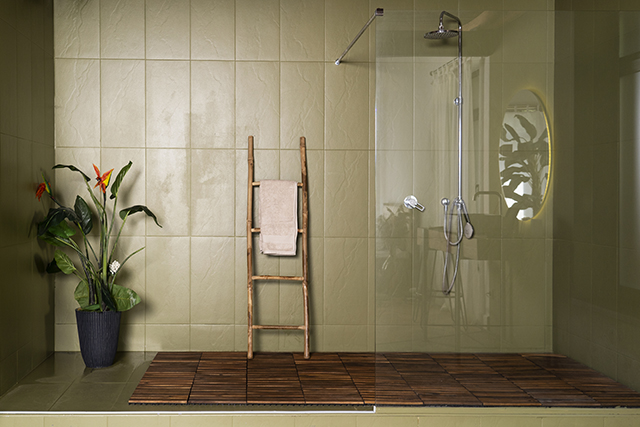
Shower screens have revolutionized bathroom design. Unlike traditional shower curtains, they allow for an open and airy feel, creating an illusion of a larger space. They come in various styles, from frameless to semi-frameless, with different glass thicknesses and designs, giving homeowners the freedom to choose according to their preferences and bathroom décor.
One of the most important aspects of a shower screen is the type of glass used. Tempered glass, often referred to as safety glass, is the go-to choice for shower screens. It is specially treated to be several times stronger than regular glass, making it more resistant to breakage. In the event that it does break, it shatters into small, blunt pieces, reducing the risk of injury.
The DIY Project: Installing Your Own Shower Screen
Installing a shower screen might seem like a daunting task, but with the right guidance and a bit of confidence, it can be a rewarding DIY project. Here’s a step-by-step guide to help you demystify the process:
1. Gather Your Tools and Materials
Before you begin, ensure you have all the necessary tools and materials at hand. This includes the shower screen kit, tempered glass panels cut to size, hinges, screws, a drill, a level, a measuring tape, and protective gear like gloves and safety goggles.
2. Measure Twice, Cut Once
Accurate measurements are crucial for a successful installation. If your shower screen requires customized dimensions, you’ll need to have your tempered glass cut to size. Many glass suppliers offer this service, ensuring a precise fit for your unique space.
3. Prepare the Installation Area
Clear the shower area and make sure it’s clean and dry. Lay down a drop cloth to protect the floor and tub from any potential damage during the installation process.
4. Install Hinges and Mounts
Follow the manufacturer’s instructions to install hinges and mounts on the shower wall. Make sure they are level and properly aligned for the glass panels to fit correctly.
5. Attach the Glass Panels
Enlist the help of a friend or family member for this step, as tempered glass can be heavy. Carefully lift the glass panels and secure them to the hinges. Double-check the alignment and levelness before tightening the screws.
6. Test and Adjust
Open and close the shower screen multiple times to ensure smooth movement. If adjustments are needed, carefully make them to guarantee proper functionality.
7. Seal and Finish
To prevent water leakage, install the provided seals along the edges of the glass panels. This step is crucial for maintaining a water-tight enclosure.
Elevate Your Bathroom with DIY Confidence
A shower screen installation might seem like a complex task, but armed with the right knowledge and tempered glass cut to size, it can be a rewarding DIY project. Not only will it instantly modernize your bathroom, but it will also provide you with a sense of accomplishment every time you step into your sleek and stylish shower space. Remember, safety comes first, so don’t hesitate to seek professional assistance if you’re uncertain about any aspect of the installation process. Enjoy the transformation and the newfound elegance of your modern bathroom! Willoughby glass has accomplish a lot when it comes to glass projects.